Weak Legacy 2 Mugen Train Guide: Bosses, Tips & Drops
Beat Weak Legacy 2 mugen train raid with Enmu and Akaza strategies, sleep prompt timing, difficulty tips, and reward details for your next farming run.
Jump to
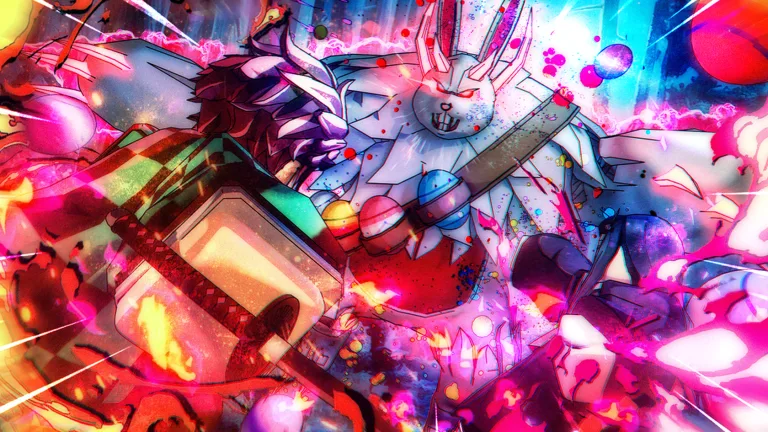
How to Beat the Mugen Train Raid
Stop waiting for the bosses to give you an opening. In the Weak Legacy 2 Mugen Train raid, forcing dodges—and clashes against Akaza—helps bring bosses into their resting state faster. Learn those windows to turn a drawn-out fight into a much more manageable farming run.
The raid has three phases: clearing enemies and flesh pieces on the train, fighting Enmu, and defeating Akaza. Each asks for a different approach:
- Train cleanup: Defeat the NPCs and destroy the tentacles or flesh pieces.
- Enmu: Pressure him with attacks to trigger dodges and bring on his resting state.
- Akaza: Approach after his airborne projectile attack and use basic attacks to trigger clashes.
M1 means your basic attack. Against these bosses, it also helps create the openings you need for your stronger abilities.
Official page: Weak Legacy 2 (roblox.com)
Prepare Your Ticket, Build, and Party
Check that you have a ticket before joining a group. Having teammates ready will not help if you cannot enter with them.
 Image: Roblox / Weak Games Corp.
Practice the mechanics on Easy before moving into Medium or Hard. The dodge and clash methods work across all three difficulties, while bosses deal more damage on the higher settings.
For Hard farming, bring a developed combat style and teammates who can contribute consistent damage. Moon Breathing V2, Flame Breathing V2, and Water Breathing V2 are strong options for boss damage. Mist Breathing also appears in successful groups, but pay attention to abilities that reposition enemies.
If you are gathering materials for Destructive Death V2, farm with your stronger existing setup before switching to a weaker V1 build. The snowflake grind becomes much tougher when you are also struggling to deal damage.
Choose a server where your attacks and defensive inputs respond promptly. Delayed M1s, blocks, and dodges make the raid’s short openings harder to use.
Phase One: Clear the Train and Handle Sleep Prompts
Defeat the NPC enemies and destroy the tentacles or flesh pieces throughout the train. Finish both objectives before expecting the next phase to begin.
 Image: Roblox / Weak Games Corp.
- Attack the flesh pieces with your damaging abilities.
- Clear nearby enemies, especially those pressuring a teammate.
- Check for remaining enemies after the last visible piece breaks.
When a sleep prompt appears, press the displayed key as the shrinking circle closes around the letter. Watch the prompt itself: it can ask for different keys, including Q or E.
Do not press immediately just because the letter appears. The timing comes from the circle reaching it. Getting this down matters during Enmu’s fight, too, where sleep interrupts your chance to attack or defend.
Phase Two: Force Enmu to Rest
Enmu’s dodge mechanic rewards active pressure. Attacking him with skills or M1s makes him dodge, and repeated dodges bring him into his resting state faster.
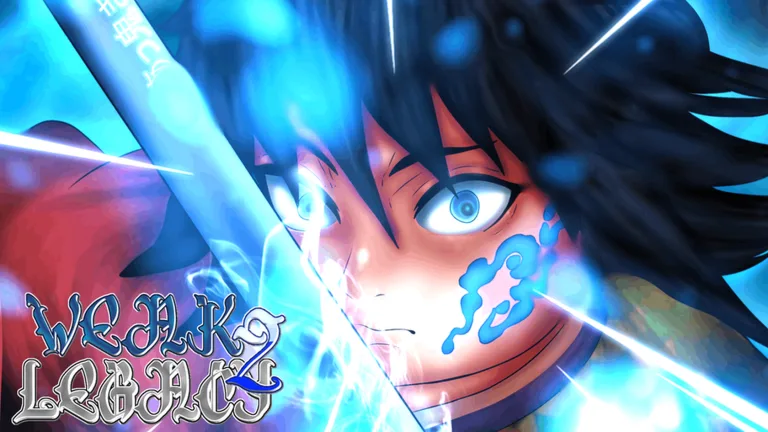 Image: Roblox / Weak Games Corp.
Move close enough to connect with your attacks while watching his attack pattern. Keep creating dodge opportunities, handle sleep prompts when they appear, and look for the purple screen flash that signals he has rested.
Once he rests, unload your damage.
In a party, keep him in reach of everyone’s attacks. Avoid abilities that drag or knock him away during the damage window. A move that shifts him out of your teammates’ attacks can waste the opening even if your own hit connects.
Stay aware of your footing on the train. Falling away from the fight costs time and can leave you scrambling to recover while the next attack begins.
Phase Three: Trigger Akaza’s Clash Animation
Akaza gives you a specific opening after an airborne projectile attack. Wait for him to throw the balls from midair, then close the distance as the attack finishes. He pauses for about one second afterward.
Use that brief recovery to land M1s. Your attacks can force a dodge or trigger a clash animation. Prioritize clashes: they bring him into his resting state faster than relying on dodges alone.
Follow this sequence:
- Circle while watching for his airborne projectile attack.
- Approach as the attack ends.
- Use M1s during the brief recovery.
- Watch for the clash and subsequent resting window.
- Spend your damaging abilities when he becomes vulnerable.
Avoid chasing him through every attack. Use the recognizable recovery window to time your approach.
Keep his position stable during group damage windows. Repeatedly moving Akaza can cause teammates’ abilities to miss, stretching out a fight where he can also recover health. If your health gets low, back off and recover before attempting another close-range opening.
Rewards, Snowflakes, and Outfit Farming
Drop rates automatically double every Saturday and Sunday. Schedule chest farming around that bonus, and choose your difficulty around the material you need.
For Destructive Snowflakes, Medium and Hard have different completion rewards:
| Difficulty | Destructive Snowflake Drop Chance |
|---|---|
| Medium | 50% |
| Hard | 100% |
Destructive Death V2 requires 10 Destructive Snowflakes. At one snowflake per successful Hard clear, collecting all 10 from zero takes 10 completions.
Hard clears also award a Legendary Mugen Train Chest, and Blazed Spirits are another raid reward. Chest rewards include outfits associated with Akaza, Rengoku, and Enmu:
| Outfit | Style Damage Bonus | Drop Rate Increase |
|---|---|---|
| Akaza’s outfit | +10% damage to Destructive Death V2 | 2% |
| Rengoku’s outfit | +10% damage to Flame Breathing V2 and V1 | 6% |
| Enmu outfit | +10% damage to Dream Manipulation | 6% |
Outfits are chance-based chest rewards. Keep your snowflake target separate from your outfit target: finishing the required Hard clears for Destructive Death V2 does not guarantee that Akaza’s outfit will arrive alongside them.
Continue exploring
Weak Legacy 2 How To Get Spins: Codes & Boss Farming
Weak Legacy 2 how to get spins: redeem reward codes, farm Mitsuri, and use weekend 2x drop rates to earn more clan rerolls without wasting your grind time.
Weak Legacy 2 Trello: Find Builds, Maps, and Trainers
Use the Weak Legacy 2 Trello to explore races, clans, Breathing styles, maps, and trainers. Plan your build and check requirements before spending Yen.
Join the community
Official channels for news, updates and player help: